
How to Restore a Weathered Deck That Lasts
A deck rarely becomes weathered all at once. First, the color fades. Then dirt settles into the grain, water stops beading on the surface, and a few boards begin to feel rough under bare feet. Knowing how to restore a weathered deck means looking beyond the gray, tired appearance and addressing the cleaning, preparation, repairs, and protection that help the wood serve your home well for years.
For New Jersey homeowners, that work matters. Seasonal moisture, sun, pollen, fallen leaves, and winter freeze-thaw cycles can all wear down a deck finish. A careful restoration can bring back the warm character of the wood while helping prevent small maintenance issues from becoming expensive structural repairs.
Start by Assessing the Deck’s Condition
Before bringing out a washer, brush, or stain, inspect the deck closely. Walk every section slowly and look at the surface from more than one angle. A finish that looks merely faded in full sun may reveal peeling, mildew staining, or water damage in the shade.
Pay particular attention to areas beneath planters, near stairs, beside railings, and where the deck meets the house. These spots often hold moisture longer than open deck boards. Check for protruding nails or screws, loose rail components, cracked boards, and soft wood that gives when pressed with a screwdriver.
Some conditions call for repair before restoration can begin:
Boards that are soft, split through, warped badly, or loose should be replaced.
Railings and stair treads need to be solid and safe before any cosmetic work.
Dark staining that remains damp, widespread rot, or damage near ledger boards deserves professional attention.
Old coatings that are peeling in sheets may require more preparation than a simple wash and recoat.
This assessment determines the right approach. A lightly faded deck may only need a thorough cleaning and a fresh protective finish. A deck with failed paint, deep weathering, or damaged boards needs a more deliberate restoration plan.
Clean the Surface Without Damaging the Wood
Cleaning is not simply about making the deck look better. It removes the dirt, algae, mildew, loose fibers, and old finish residue that can prevent a new coating from bonding properly.
Begin by clearing furniture, rugs, planters, and debris from the deck. Sweep between boards so leaves and soil do not trap moisture underneath. Protect nearby landscaping as needed, especially if a deck cleaner will be used.
A wood-safe cleaner can loosen organic buildup and surface grime. Apply it according to the product directions, allow proper dwell time, then scrub stubborn areas with a stiff brush. Do not let cleaner dry on the boards. Rinse thoroughly so residue does not interfere with the next step.
Power washing can be effective, but it takes restraint. Too much pressure, a narrow spray tip, or holding the wand too close can carve lines into the boards and raise the wood grain. Those marks are difficult to hide under stain. The goal is to lift contaminants, not strip away sound wood. Experienced deck care professionals adjust pressure, distance, and technique to the species and condition of the material.
After cleaning, let the deck dry fully. Depending on humidity, shade, and recent weather, this can take several days. Applying stain or paint to damp wood can trap moisture and lead to early peeling or blotchy color.
Make Repairs Before You Cover Them Up
A fresh stain can make a deck look renewed, but it cannot correct failed fasteners or damaged lumber. Restoration is the right time to address small defects while they are easy to see.
Replace boards that are deeply checked, rotten, or structurally compromised. Reset or replace raised fasteners so they sit securely without splitting the wood. If several boards have cupped or warped, consider whether poor drainage or insufficient airflow is contributing to the problem. Replacing the boards without addressing the moisture issue may only delay the same failure.
Inspect the railing, stairs, and posts with safety in mind. Handrails should not wobble. Stair treads should be firm and even. If paint or stain has hidden an old crack or a weakened connection, repair it now rather than applying another coat over it.
This is where restoration differs from a quick cosmetic refresh. Good preparation protects the appearance of the work and the people who use the deck.
Sand Rough Areas for a Comfortable Finish
Weathered wood often develops raised fibers after years of sun and rain, and cleaning may expose additional roughness. Light sanding smooths the surface, removes minor splinters, and helps create a more even finish.
Focus on handrails, stair treads, and the deck boards where people walk barefoot. Use an appropriate grit for exterior wood and avoid over-sanding. A surface polished too smooth may not accept certain penetrating stains evenly. Sand only as much as needed to remove rough fibers, loose coating edges, and visible wash marks.
Vacuum or sweep away dust thoroughly before finishing. Fine dust left in board gaps or along railings can settle into wet stain or paint and spoil an otherwise clean result.
Choose the Right Protection for Your Deck
The best finish depends on the deck’s condition, the look you want, and the maintenance level you are prepared to keep up with. There is no single coating that suits every exterior wood surface.
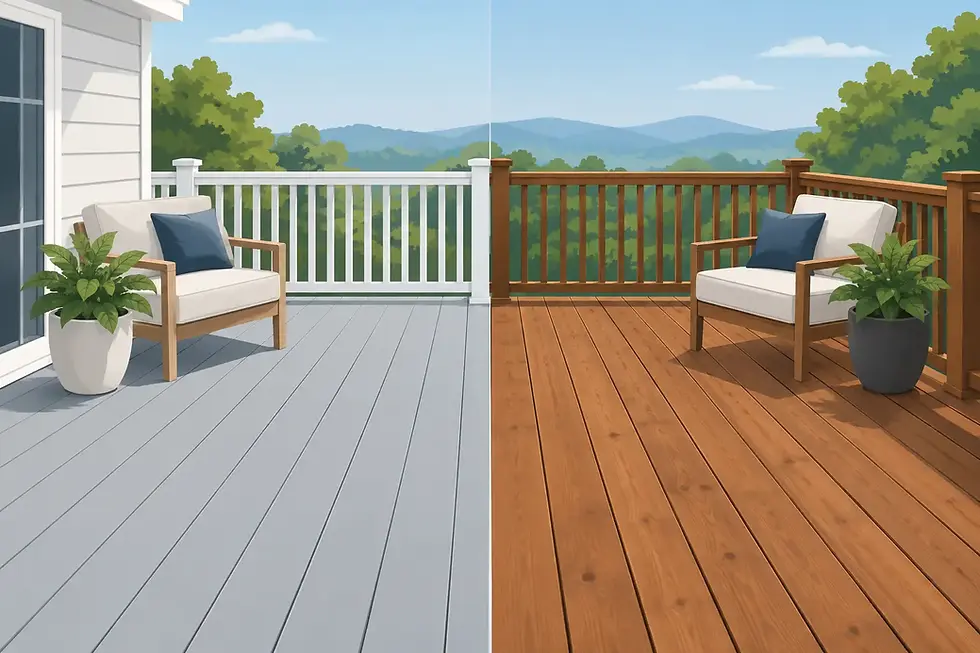
A transparent or semi-transparent stain keeps more of the natural grain visible and works well when the wood is in reasonably good condition. It provides a traditional appearance, but it may need more frequent renewal on sunny, high-traffic areas. Semi-solid stains offer deeper color and can help even out boards with moderate discoloration while retaining some texture.
Solid-color stain or exterior deck paint provides stronger color coverage and may be the better choice for older decks with mismatched replacement boards, stubborn staining, or uneven appearance. The trade-off is that opaque coatings can peel if moisture is trapped below or surface preparation is rushed. They also conceal more of the wood’s natural character.
Whichever finish you choose, make sure it is designed for horizontal exterior deck surfaces. Railings, trim, and vertical posts can sometimes accept different products than the walking surface. Read the manufacturer’s instructions for temperature limits, drying times, coat recommendations, and recoat windows.
Apply the Finish Evenly and Patiently
Choose a dry stretch of weather with moderate temperatures. Avoid applying a finish just before rain, during extreme heat, or when the boards are hot from direct sun. Conditions affect how quickly a coating absorbs and dries, which affects both appearance and durability.
Work along the full length of a few boards at a time, maintaining a wet edge to avoid lap marks. Use a brush to work finish into gaps, board ends, and around railings, then use a pad, roller, or brush as appropriate for the main surface. Do not flood the wood. Excess stain that sits on top can become sticky, uneven, or prone to early wear.
Board ends deserve extra care because they absorb moisture readily. Likewise, areas near steps and doorways receive more foot traffic and may need closer attention during future maintenance. Allow the finish to cure fully before replacing furniture or inviting everyone back outside.
Avoid the Shortcuts That Cause Early Failure
The most common restoration problems are preventable. Applying stain too soon after washing, using excessive pressure, skipping repairs, and coating over loose old paint can all shorten the life of the project. So can choosing a finish solely by color without considering the deck’s existing condition.
It also helps to plan for maintenance instead of waiting for the deck to look severely worn again. Sweep off leaves, move planters occasionally, clean spills promptly, and inspect the finish each spring. Water beading on the surface is a useful sign of protection, but it is not the only measure. Look for fading, exposed grain, roughness, and areas where moisture lingers.
A weathered deck can be restored with patience and the right sequence of work. When the condition is uncertain, the coating has failed extensively, or repairs are part of the job, a professional evaluation can protect both the result and the investment. For homeowners who want skilled local care, Deck Wrangler brings 33 years of detail-focused experience to restoring outdoor spaces with the attention they deserve.

Comments